Search This Blog

Monday, February 29, 2016

Asian Pasta Salad

Spring is getting closer all the time...and so is picnic season!  My favorite foods to take on a picnic are different types of salads.  

Several years ago, we visited the ultimate picnic spot: Sonoma Valley in California.  It is gorgeous there!  If you haven't been, go!  When we first arrived, we stopped at the (very nice) welcome center. There was a counter of gourmet, picnic-type foods inside.  I remember a pasta salad with Asian flavors.  It was delicious and perfectly light for a Spring picnic day.  

I've recreated that dish from memory.


Asian Pasta Salad


Recipe:
1 (8 oz.) package Asian Noodles
1 Red Bell Pepper (julienned)
about 8 Green Onions (julienned)
1 Cucumber (seeded and julienned)
1 Tbsp Black Sesame Seeds
1 cup Asian Vinaigrette
Instructions: Cook noodles by the instructions on the package.  Put all ingredients in a decorative bowl and toss to blend.  Serve immediately or prepare the night before and store in the fridge.

Recipe for Asian Vinaigrette
1/2 cup Olive Oil
1/4 cup Soy Sauce
1 clove minced Garlic
1 Tbsp Honey
*Whisk ingredients together to combine.

Print this recipe: https://sites.google.com/site/1cookingchickprintablerecipes/asian-pasta-salad


Sunday, February 28, 2016

Indian Pizza


I am always experimenting with flavors that my family and I enjoy.  Sometimes a new recipe is worth writing and sometimes it's a flop.  Today's Indian Pizza is something worth sharing!  I used Mango Chutney as sauce, Chicken cooked in Curry Powder and Ginger, Cilantro and Cole Slaw mix.  As it turns out, this is a winning combination!

The Toppings


The Recipe:
1 Pizza Crust
1 jar Mango Chutney 
1 Chicken Breast
1 Tbsp Olive Oil
1 Tbsp Curry Powder
1 tsp Ground Ginger
1 heaping cup Cole Slaw Mix
1 package Shredded Mozzarella Cheese
sprinkling of Garlic Powder
handful Fresh Cilantro
sprinkling of Crushed Red Pepper Flakes
Instructions:
1.  Cook the Chicken over medium heat, in the Olive Oil, Curry Powder and Ginger.  Shred when cooked through and set aside.
2.  Preheat oven to 400 degrees, roll the Pizza Dough out on a pizza stone and bake for 10 minutes before adding toppings.  *Note: This can be either a homemade crust or a store-bought dough.
3.  To assemble the pizza:  Spread Mango Chutney on the dough (as much as you like...I didn't use the whole jar because I think less goes a long way).  Next add the shredded Chicken, Cole Slaw Mix and Cheese.  Sprinkle Garlic Powder on top.
4.  Slide back into the oven and bake until cheese bubbles and turns golden brown (about 20 minutes).
5.  Right after you take it out of the oven, top with fresh Cilantro and Crushed Red Pepper.
6.  Slice, serve, enjoy!


 The spicy sweetness of the chutney blends well with the warmth of the curry and freshness of the cilantro.  In my opinion, crushed red pepper flakes add a nice dimension to any pizza or flatbread.  I served my Indian Pizza with fresh Cucumber on the side for a coolness to balance out the warm spiciness of the pizza.  Try this recipe soon!


Monday, February 22, 2016

Cheesy Stuffed Artichokes and Zucchini


Today, I'm trying something new!  I wrote this post as part of an Italian Dinner Blog Hop.  Fun fun!  Click here to check out the other bloggers and get some great ideas:  An InLinkz Link-up


Who doesn't love a cheesy, herb-y, breadcrumb-y stuffing mixture??  You could probably make a shoebox tasty if you stuffed it with that!  Ha!  For today though, let's stick to already yummy, Artichoke Hearts and Zucchini.


Everything you'll need:

2 or 3 shredded Italian Cheeses (your pick...I used Asiago, Parm and Mozzarella)- 1/2 cup of each
Plain Breadcrumbs- 1/2 cup
Salt and Pepper to taste
frozen or marinated Artichoke Hearts (thawed, rinsed, strained and laid out on a paper towel to dry)
2 large Zucchinis
1/2 Lemon
Garlic-infused Olive Oil (recipe below)
fresh Basil Leaves (optional)

Garlic-infused Olive Oil
 1/2 cup Olive Oil
1 or 2 minced Garlic Cloves (depending on how much you like Garlic)
splash of Lemon Juice
*Blend all ingredients together in a jar or measuring cup.


Instructions:
1.  Preheat the oven to 400 degrees and grab a couple cookie sheets or roasting pans.
2.  Cut the Zucchinis in half long ways, lay open-faced on a cookie sheet and drizzle or brush with Olive Oil.  Place in the oven and allow to heat for about 8 minutes to soften.

 3.  In the meantime, lay the Artichokes in pairs on a greased cookie sheet.
*Note: placing them in pairs helps most of the filling stay on top.

4.  In a medium bowl, mix the Cheeses, Bread Crumbs, the zest of 1/2 a Lemon, and Salt and Pepper.
5.  Place a spoonful of cheese mixture on top of each Artichoke pair (using half the mixture).  Top with a spoonful of the Garlic-infused Olive Oil and place in the oven.  Bake for about 10 minutes, or until golden brown.

6. When the Zucchini is ready, remove from the oven and using a serrated spoon, cut out the core and cut into medium-sized slices.
7.  Place back on the cookie sheet, white side up, and repeat the filling process like you did with the Artichokes.  Place in the oven and bake (these took a little longer for me) for about 20 minutes.

*Feel free to add more of the Garlic Olive Oil or more cheese on top about halfway through baking.


Here are the finished products!  Serve on a decorative platter with fresh Basil leaves, or even a bowl of freshly-made Basil Pesto.

This recipe will make a great starter for your Italian-themed dinner party.  They sure do smell yummy while cooking!

*Note:  This recipe is flexible. What I mean by that is, you don't have to do it just like I did it.  You're free to use my recipe as a sort of template for your favorite veggies and cheeses.  Feel free to add whatever seasonings you like as well!  
**Another Note:If you want to do only one veggie and not the other, just half the other ingredients.


Above all things, get creative!  It's always my hope to inspire some creativity and fun in the kitchen.  Have your own Italian-themed dinner party soon and enjoy this appetizer.


Until next time friends, Arrivederci!!


Don't forget the link to get more ideas for you Italian Dinner Party!  #italiandinnerbloghop


Saturday, February 20, 2016

Chocolate Ravioli


I've always been a fan of the Food Network chef, Giada de Laurentiis.  I so enjoy watching her show and cooking her recipes.  She makes things so approachable.  One of my favorites is her Chocolate Ravioli...a delightful, if sinful Nutella treat.

Here is the link to her recipe: http://www.foodnetwork.com/recipes/giada-de-laurentiis/chocolate-hazelnut-ravioli-recipe.html
Okay, her's look beautiful and mine look okay.  But once you taste it, you won't care how it looks!

You only need a few things for this simple recipe:
Wonton Wrappers
Nutella (yum!)
Vegetable Oil 
a small Saucepan
a bit of Powdered Sugar
Instructions:
1. Lay out Wonton wrappers individually (i did 5 tonight). Dip your finger in some water and moisten one corner.
2.  Put a small spoonful of Nutella in the center.  Fold the wrapper over and seal, so that it forms a triangle shape.
3.  Pour 1 1/4 cup of Vegetable Oil into the saucepan and heat over medium-high heat.
4.  Add the Ravioli, 2 at a time and watch until they turn brown.  Remove with a slotted spoon.
Don't you love strainer spoons??
5. Place on a plate lined with a paper towel.
6.  If you/re super cool and have a vintage flour sifter, grab it.  If not, use a regular small-net strainer...place a handful of Powder Sugar inside and sift the powdery goodness over the top of the raviolis.
7.  Enjoy and try not to feel too guilty afterward!


As you can see, this is definitely not a healthy recipe.  Ha!  Understatement much?  I've been known to give American Heart Association recommendations on my blog before.  But tonight, let's just eat (Chocolate Ravioli), drink (Milk) and be merry!


3 Ways to Cook with Chick Pea Flour


Hello foodie friends, and welcome to my Chickpea Flour Weekend! I enjoy cooking with this rich, gluten-free substance and wanted to challenge myself to use it for every meal over the course of one weekend.  I've picked the most successful recipes to share with you.


Chickpeas, also known as Garbanzo Beans, are a great source of Protein, Iron and Dietary Fiber.  They are also tasty!  That's why it's a good idea to use flour that is made from these little nutrition bombs.  There are many ways you can cook with Chickpea Flour.  Today, I'm giving you three ideas.


Socca (Chickpea Crepes)


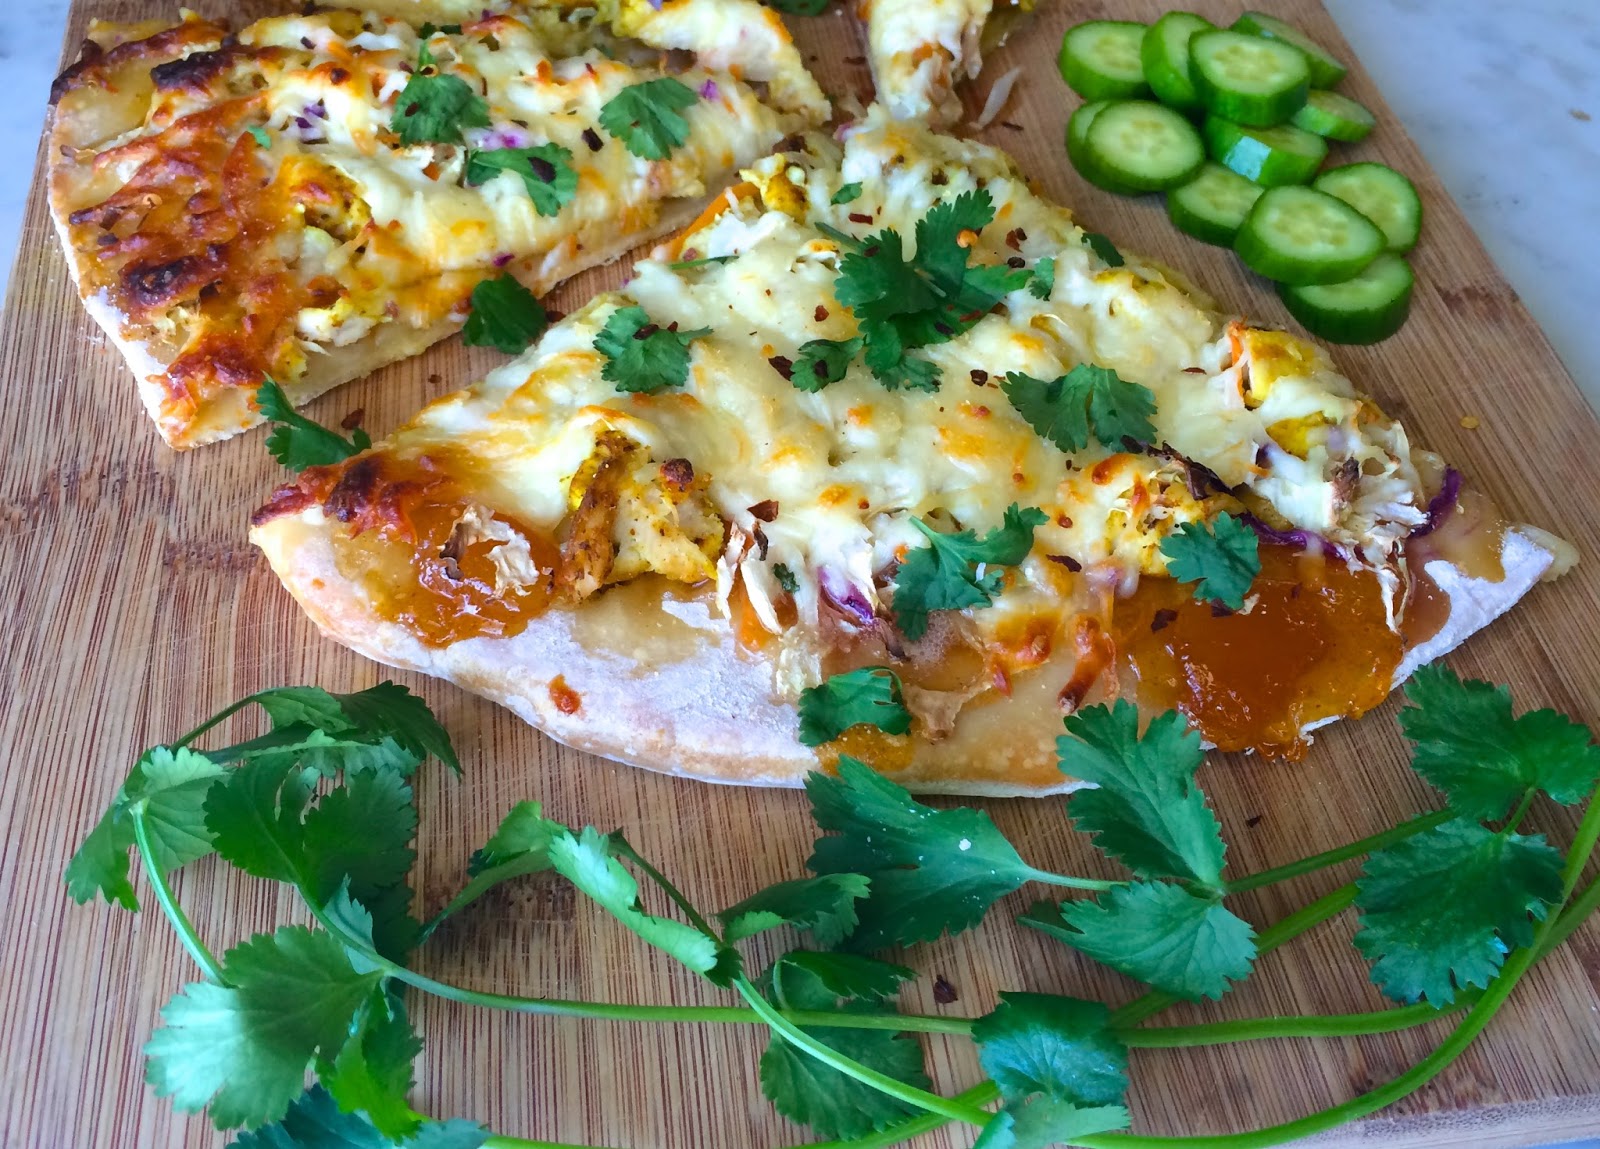
1.  Socca: This is the one I'm most excited about!  It is a tasty European treat and is so easy to make! If you've read my blog before, you are aware of my preoccupation with all things European!  This one doesn't disappoint.  There is a basic method to follow, and then you can add any flavor you like to the batter.  You can enjoy it plain or add extra toppings, such as vegetables, meats or cheeses.  Socca with toppings would make a lovely appetizer or first course.


Tweet: If you've read my blog before, you are aware of my preoccupation with all things European!


Recipe:
2 cups Chickpea Flour
2 cups Water
2 tbsp Olive Oil
pinch of Salt
Optional Flavors: Minced fresh Garlic, Parmesan Cheese, Oregano, Basil...you decide!
Instructions:
1. Turn on the Broiler and place a cast iron skillet in the oven for about 5-7 minutes.
2.  Mix all the ingredients (1 tbsp Olive Oil) in a medium-sized bowl.
3.  Remove the skillet from the oven and spread the other tbsp Olive Oil over it's surface (I also like to cut a clove of Garlic in half and rub the juicy side over the surface of the skillet.)
4.  Pour the batter into the skillet in a very thin layer.
5.  Place the skillet back under the broiler and cook until browned on the top (maybe 5-7 minutes, but hang out nearby to watch, because it won't take long.)  I like to add Parmesan Cheese when it is just about done.
6.  Remove from skillet and transfer to a plate.  Start the process for the next crepe with the batter you have left.  This recipe should make 2-3, depending on how thin you make each one.

Parmesan Socca topped with Bacon,
 Charred Kale and Capers

Recipe (for 2):
2 Chickpea Crepes
2 large handfuls of fresh Kale
2 tablespoons Capers
2-3 strips cooked Bacon
pinch of Crushed Red Pepper
1 tbsp Olive Oil
2 tbsp Water
Instructions:
1. Heat the Olive Oil over medium to medium-high heat.
2.  Add the Kale and the Water.  Cook stirring until Kale is wilted (5-7 minutes).
3.  Turn off heat and add Capers.  Stir again and allow to sit in the pan for a few minutes absorbing the heat.
4.  Onto a plate pile the Socca, Kale mixture and Bacon.  Finish it off with a sprinkling of Crushed Red Pepper flakes and serve immediately.

*Note: Make Chickpea Crepes a little thicker for a fine gluten-free Pizza Crust.


Strawberry Ricotta Muffins


2.  Breakfast Muffins:  My family enjoys muffins for breakfast.  I like this, but I want to make sure we get some protein in first thing in the morning as well.  Baking with Chickpea Flour is an easy way to accomplish that.


Recipe:
2 cups Chickpea Flour
1/2 tsp Baking Soda
1/2 tsp Baking Powder
pinch of Salt
1 stick unsalted Butter (softened)
3/4 cup Sugar
zest of 1/2 a Lemon
1 cup Ricotta Cheese
1 Egg
juice of 1/2 a Lemon
1/2 tsp Vanilla Extract
1 (16 oz) package frozen Strawberries (chopped)
Instructions:
1.  In a medium bowl, whisk together Chickpea Flour, Baking Soda, Baking Powder and Salt.
2.  In your main bowl (large mixing bowl), beat the Butter, Sugar and Lemon Zest with an electric mixer, just until combined.
3.  Add Ricotta Cheese, Egg, Lemon Juice and Vanilla Extract and beat until just combined.
4.  Pour in the dry ingredients and stir with a spoon until combined.
5.  Fold in the Strawberries (Blueberries would be good too!).
6.  Line a muffin tin with baking cups (I did't do this because I didn't have any...I recommend this step!). Ha!
7.  Bake at 350 degrees for 20-25 minutes.
8. Optional-I mixed about 1/4 cup Granulated Sugar with the zest of 1/2 a Lemon to sprinkle on top of the warm muffins.


Meat Breading


3. A light breading for pan-fried meat: You can use Chickpea Flour and other seasonings to create a dredging mixture for meat.  Today I did Pork Chops, but it would be tasty with fish or chicken as well.
For four Pork Chops, I sprinkled about 1/2 cup of Chickpea Flour onto a plate along with 1/2 teaspoon Cavender's Greek Seasoning (use what you like), a couple shakes fresh ground Salt and Pepper...portions vary depending on how much meat you are dredging.  
Heat 2 tbsp Vegetable Oil and a bit of Butter (for browning) in a pan over medium heat.
Dredge the meat in the Flour mixture and shake off excess.
Throw in the pan and cook until each side is browned and the meat is cooked through.  The time will depend on how thin or thick your meat is.  Just hang out and watch it.  It shouldn't take long on either side.

Greek Seasoned Pork Chops with Tzatziki Sauce
and Greek Salad
Since I seasoned my Chickpea Flour breading with Greek flavors, I served it up with a Cucumber, Kalamata Olive and Tomato Salad with Feta and Tzatziki Sauce.
A recipe for Tzatziki Sauce is here: 1cookingchick Gyro Bar for Friends


Where can you get it?  It's sometimes in the gluten-free section of the grocery store.  Or you can order it from Amazon...like just about anything else! Ha!


I hope I've inspired you to try cooking with Chickpea Flour.  It's healthy and filling and better for us than white flour.  I've only given you a few ideas.  If you explore the wonderful world of Pinterest, there will be many more.  If you find something amazing, please let me know!  Happy cooking, friends!


Thursday, February 18, 2016

#MississippiRoast


In this day and age, you always hear about something going "viral"...internet fame.  It might be a funny video, an amazing photograph, etc.  I've never known anyone personally who has done this.

In the past couple weeks, you might have heard of a recipe gone viral, called Mississippi Roast.  It is rather famous now.  It just so happens that this is a recipe I've eaten all my life, is in a cookbook that's been on my shelf for years, and was developed by a lady I know well, from my home town of Ripley, MS.

It's crazy to see such a familiar face on Good Morning America!  


It all started years ago, when Robin Chapman adapted a roast recipe to make it less spicy and more suitable for her family.  Her version of it quickly became a favorite among friends and family.  Since then, it has been blogged about and pinned on Pinterest many times.

Robin says she first found out about it going viral when she got a call from the Foods Editor at the New York Times.  He said they had been researching the origin of the recipe for several months and had traced it back to her and her friend, Karen Farese (who had submitted it to a local church recipe book).  An article was written up and published in the New York Times.  On the same day of this publication, Robin received a call from Good Morning America.  They wanted to do a segment about the recipe!!  So it was off to NYC for the recipe star!

I asked Robin what she thought when she found out the recipe had gone viral.  She says she was shocked that they could trace it back to her.  Also, that she is just happy that so many people love it.

It is quite a delicious recipe.  And I guess you can never underestimate the power of the internet.


So how is it done?  Here is the recipe straight from the now famous, Beech Hill Church of Christ cookbook:
(Contributed by Robin's dear friend, Karen Farese)
Simply turn the crock pot to Low and let it slow-cook all day!  Can't get any easier than that!...or more delicious!


I served mine with roasted salt and pepper Asparagus and roasted Potatoes with Red Onions.


So try it tonight, friends!  There's a reason it's famous now...it's DELISH!!  And congratulations to Robin and Karen!


Mississippi Roast in the News!

The Good Morning America Segment!!  -Love this!

http://www.nytimes.com/2016/01/27/dining/mississippi-roast.html?_r=0

http://www.delish.com/food-news/a45813/this-mississippi-roast-recipe-is-going-viral/

Tuesday, February 9, 2016

Let the Beet Drop!

I've said before that I am a root vegetable enthusiast.  Well, beets are one of my favorites.  Just the color alone is enough to inspire a blog post...that beautiful deep fuchsia-red can make a dish come aesthetically to life!  Today, I want to give you some ideas for how to use beets.

Beet Napoleon
(a really simple recipe to start with)

Recipe: (makes four)
1 large Beet (peeled)
handful of fresh Spinach Leaves
4 slices Prosciutto
Spicy Cilantro Tzatziki Sauce (recipe below)
Feta Cheese to sprinkle
Cilantro for garnish
Instructions:
1.  Boil the beet until tender (35-45 minutes).
2.  Slice the beet into 4 slices.
3.  Top with a couple Spinach Leaves, a rolled slice of Prosciutto, a drizzle of Tzatziki Sauce, a sprinkle of Feta and a couple Cilantro Leaves.
4.  And that's it! Simple and lovely!


Spicy Cilantro Tzatziki Sauce

Recipe:
1/2 Cucumber (peeled and deseeded)
1 Garlic Clove
handful of Cilantro
about a cup Plain Greek Yogurt
Salt and Pepper to taste
Cayenne Pepper to taste
Instructions:
In the food processor:
1. Blend the Cucumber, Garlic and Cilantro.
2.  Add all other ingredients and blend until smooth.


Tilapia Gyro with Roasted Beets 
and Spicy Cilantro Tzatziki

Recipe:
You could always use fresh fish from a market...but I just use frozen Tilapia from Publix.  I cooked 2 fish fillets over medium heat, in about a tablespoon of Olive Oil, a bit of Butter, a squeeze of fresh Lemon Juice, Salt and Pepper to taste, and a sprinkle of Cavender's Greek Seasoning...on  each side until done and starting to brown (about 5-7 minutes on each side).
I cut a Beet into small wedges, tossed in Olive Oil and roasted on 400 degrees in a roasting pan until tender (about 25-35 minutes).
While the Beets were roasting, I wrapped Garlic Naan (but you can use Pita Bread), in aluminum foil with a drizzle of Olive Oil and let that heat for about 15 minutes.
To assemble the Gyro, top the warm Naan or Pita Bread with Spinach Leaves or whatever type of Lettuce you like.  Next add the Tilapia, Roasted Beets, a drizzle of Tzatziki Sauce and thinly sliced Red Onion.


Tilapia Gyro Salad with Roasted Beets

Some people prefer their Gyros to be in salad form.  So here is the salad version of my Tilapia Beet Gyros.  It's basically all the same ingredients.  The only difference is the leaves...everything is piled on top of a mix of Kale and Romaine Lettuce.


**Last but not least, there is a Beet Salad recipe that I found on Pinterest and have made several times.  It is yummy!  Here is the link:  Greek Beet Salad


Not much of a beet fan?  I hope you'll consider trying something new with this beautifully-hued root vegetable.  They really are a nice canvas on which to paint some glorious flavors.  So try getting a little creative in the kitchen and let the "Beet" drop!...into boiling water, that is. Haha!

Saturday, February 6, 2016

Valentine's King Cake


I am not a baker!  I will be the first to say that I enjoy cooking, making up recipes that are not always good, and that I want to make things that fall into the categories of "homemaker" "fun mom" and "unrealized chef".  But baking...that's a different domain!  I could only hope to approach that level of cooking skill.

Nevertheless, I have thought of a way to make King Cake with some shortcuts.  I've discussed previously how much I like Puff Pastry (My Ingredient Staples). It is so easy to use and yummy too!  I decided to try a King Cake with it.

Puff Pastry King Cake

Recipe:
1 box Puff Pastry (this includes 2 pastry sheets), thawed
1 8 oz package Cream Cheese
1 cup Powdered Sugar (plus a little more for glaze topping)
juice and zest of 1/2 a Lemon
about 1/2 cup Strawberry Preserves or Jam
2 tsp Ground Cinnamon
1 Egg, beaten for the egg wash
about 1 tablespoon Milk (for glaze topping)


Instructions:
1. Beat the Cream Cheese, Powdered Sugar and Juice and Zest of the Lemon.
2.  Spread the Cream Cheese mixture over each sheet of Puff Pastry.
3.  Sprinkle with about a teaspoon per pastry sheet of Ground Cinnamon.
4.  Spread a thin layer of Strawberry Preserves or Jam over the cream.  
5.  Roll each pastry and form the shape of a heart.
6.  Brush over with an egg wash.
7.  Bake in the oven on 375 degrees for about 45 minutes or until golden brown. 


A simple glaze consists of about 1/2 cup Powdered Sugar, about a tablespoon of Milk and a drop or two Red Food Coloring.


So where are you this Marti Gras season?  You might live close to New Orleans or not.  But we can all agree, no matter where we live, that there are many wonderful recipes to be enjoyed this time of year.  Try a King Cake with some shortcuts and celebrate the season!

Tuesday, February 2, 2016

Alabama Jambalaya


February is here! and that makes me think of two things: Valentine's Day and Marti Gras!!  I felt inspired to make a dinner that is a mix of both.  I must admit, it is heavier on the Cajun and lighter on the Cupid...Jambalaya and heart-shaped King Cake.  My recipe for the cake will be in another post soon.

New Orleans is such a great place to visit.   I can't imagine a better food scene anywhere!  I'm always looking for a reason to do a New Orleans style meal.  This time of year is the best reason.  I live in Birmingham, so I wanted to put a little Alabama spin on the usual Jambalaya recipe.  What better way to do that then to use our own Conecuh Sausage??


Alabama Jambalaya
Recipe:
3 Tbsp Olive Oil (or Vegetable Oil)
1 onion (chopped)
1 red Bell Pepper (chopped)
4-5 Cloves Garlic (minced)
2 Jalapeño Peppers (chopped finely)
2 Chicken Breasts (cut into small pieces)
1 lb. Conecuh Sausage (sliced)
3 cups Chicken Broth or Stock (I used stock)
1 15 oz. can Crushed Tomatoes
2 Tbsp Cajun or Creole Seasoning
1 tsp Rubbed Sage
1 tsp dried Oregano
Sea Salt and Fresh Ground Pepper to taste
the juice and zest of 1/2 Lemon
1 cup White Rice
2 Tbsp Capers (without juice)
1 lb. Fresh Okra (sliced)
1 or 2 lbs frozen Shrimp (I used 2)-peeled and deveined


Instructions:
1.  Heat the Oil over medium-high heat, in a large pan and throw in the veggies and garlic.
2.  Once the Onions are starting to get tender and translucent (about 5 minutes in), add the Chicken and Sausage.  Cook until Chicken is no longer pink (about 10 minutes).
3.  Add the Chicken Stock, Tomatoes and next 6 ingredients.
4.  Turn the heat down to medium-low, cover and allow it to simmer for about 15-20 minutes.  Add in the Okra and Capers about halfway through this process and give it a good stir.
5. Finally, add in the Shrimp and allow it to cook until pink, stirring every few minutes.

*I like to develop my own recipes.  It's a fun process, but the problem with it is that sometimes flavors don't come together as well as I would like.  The flavors in this recipe though....turned out delicious!  It reminds me of a certain New Kids on the Block song, The Right Stuff!  This time, I put "the right stuff" in the pan!! It recently came to my attention that they are back together and performing!
Here they are today!  Can you believe it?  The original boy band...how about that? Ha!  Be still my first-grade heart!


Cooking by holiday theme is always fun.  I enjoy the process and my family and friends enjoy eating the results.  I hope you get inspired by Valentine's Day and Marti Gras too.  Let your creative juices flow and see what ideas you may have for this fun time of year.